How to Crop in Preview on Mac Quickly
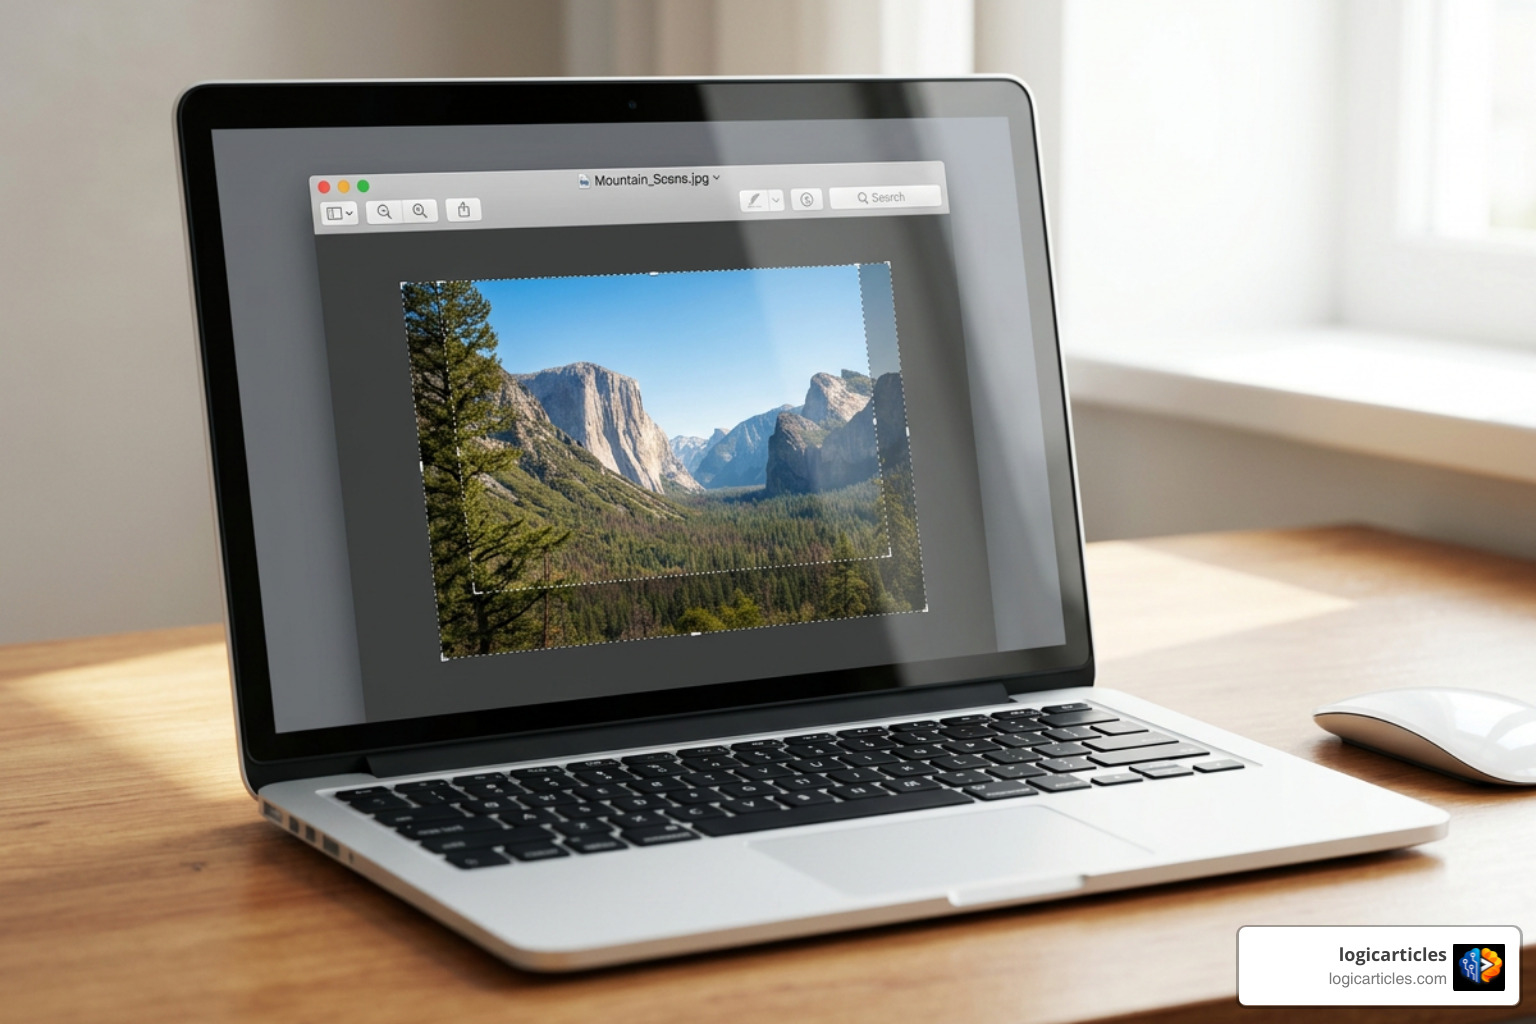
How to Crop in Preview on Mac is simple: open the image, drag to select the part you want to keep, then click Crop or press Command-K.
- Open your photo, screenshot, or graphic in Preview.
- Use the selection tool to draw a box around the area you want to keep.
- Click the Crop button in the Markup toolbar, then save or export the edited image.
Preview is the free image and PDF viewer included with macOS. It is useful when you need to remove empty space, distracting backgrounds, or unneeded parts of a screenshot without installing another app.
This guide covers the quick three-step process first, then explains circular and free-form selections, resizing, exporting smaller files, protecting your original image, and fixing a grayed-out Crop button.
What is Mac Preview and Why Use It?
We all know the feeling of capturing a quick screenshot or receiving a headshot photo, only to realize half the frame is taken up by clutter or extra desktop space. Before rushing to install heavy third-party photo editors or paying for subscription software, macOS users have an exceptional tool built right into their system: Apple Preview.
Preview is the native default media viewer on macOS designed to display images, PDFs, and graphics. Beyond viewing files, Preview comes packed with powerful markup and basic image editing capabilities. It lets us crop, rotate, annotate, adjust colors, resize pixel dimensions, and compress file sizes without costing a single penny or consuming unnecessary disk space.
Using Preview for image edits offers several distinct advantages:
- Speed and Efficiency: It opens instantaneously and handles lightweight edits faster than launching a full-featured creative suite.
- Zero Cost: Built into every version of macOS up to 2026 and beyond, requiring no subscriptions or account sign-ups.
- Image Optimization: You can quickly lower image resolution or convert formats for web publishing, email attachments, and documentation work.
- System Integration: Preview connects seamlessly with macOS document versioning and native sharing features.
Whether you are editing visual assets for a knowledge base article, prepping graphics for social media, or cutting unwanted borders off a scanned invoice, understanding how to utilize Preview streamlines daily digital workflows. For official specifications and extended documentation, check out the Apple Support Preview User Guide.
How to Crop in Preview on Mac in 3 Easy Steps
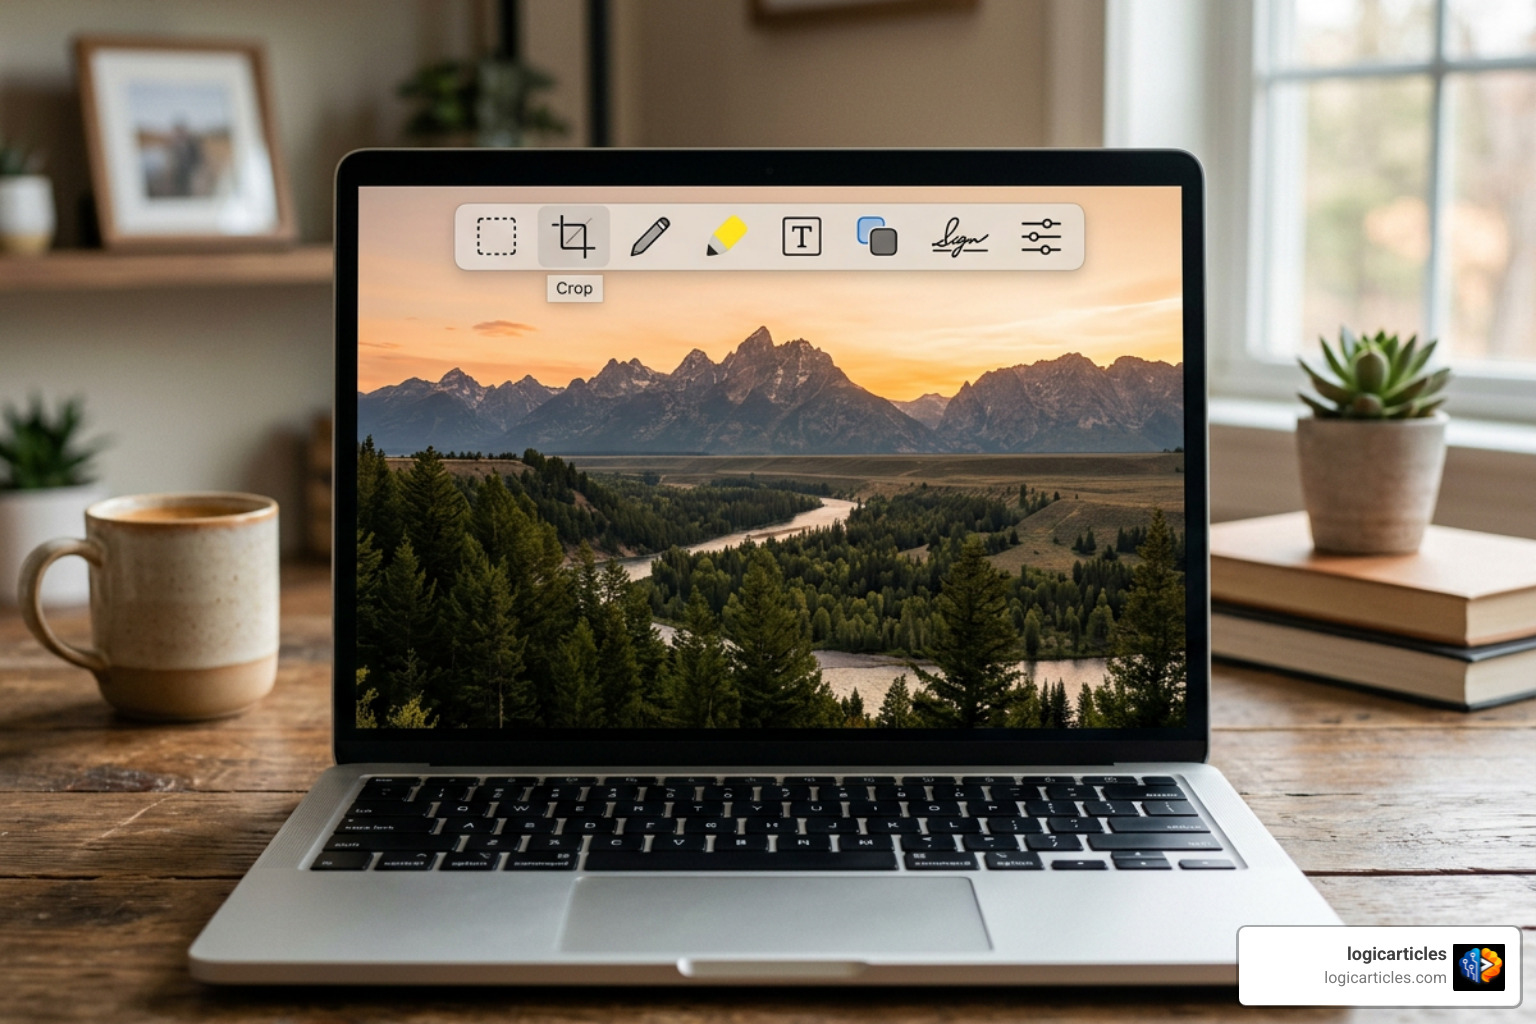
When we want to isolate the core subject of an image, we can perform the operation in seconds. Here is the step-by-step breakdown on How to Crop in Preview on Mac.
Step 1: Open Your Image and Access Selection Tools
To begin, locate your image file in Finder. By default, double-clicking an image file (such as JPEG, PNG, HEIC, or TIFF) opens it directly in Preview. If you have set another application as your default viewer, right-click (or Control-click) the image file, choose Open With, and select Preview.
Once your image is displayed in Preview:
- Check if the Markup Toolbar is active across the top of the window. If it is hidden, click the small marker icon (Show Markup Toolbar) near the top-right corner, or press
Command + Shift + Aon your keyboard. - Locate the Selection Tools menu icon on the far left of the Markup toolbar (it typically looks like a dashed rectangle).
- Click the selection tool icon to ensure the Rectangular Selection tool is active. Your mouse cursor will change into a precise crosshair pointer.
If you ever need to inspect the precise dimensions of your image before making cuts, navigate to Tools > Show Inspector (or press Command + I). The Inspector window gives real-time feedback on pixel dimensions, color profile, and file size.
Step 2: Adjust Your Selection for How to Crop in Preview on Mac
With your crosshair cursor active, click and drag over the region of the image you want to keep. A dashed bounding box—known as a selection marquee—will appear over the image canvas.
To refine and perfect your selection boundaries:
- Move the Marquee: Click anywhere inside the dashed selection area and drag it to reposition the box without altering its shape.
- Resize Boundaries: Click and drag any of the blue circular handles located on the corners and edges of the bounding box.
- Lock Aspect Ratio: If you need to keep a perfect square or preserve proportional dimensions while dragging, hold down the
Shiftkey while adjusting the corner handles. - Expand from Center: Hold down the
Optionkey while dragging to expand or shrink the selection marquee outward from its center point. - Micro-Adjustments: For pixel-perfect precision, use the arrow keys on your keyboard to nudge the entire selection box by 1 pixel at a time. Hold
Shiftwhile using the arrow keys to move the marquee in 10-pixel increments.
Step 3: Apply the Crop and Save Your File
Once your bounding box perfectly highlights your desired subject matter, it is time to execute the edit:
- Click the Crop button located on the right side of the Markup toolbar. Alternatively, press the universal keyboard shortcut
Command + K, or select Tools > Crop from the top menu bar. - Preview will instantly cut away all visual data outside your selection area, leaving only the cropped subject on your screen canvas.
Saving your edited file in Preview happens seamlessly. Because macOS incorporates automated saving features, closing the document window or quitting the app automatically applies your edits directly to the open file. If you prefer to manually save your progress, press Command + S or choose File > Save.
Advanced Cropping Shapes: Circles, Custom Shapes, and Background Removal
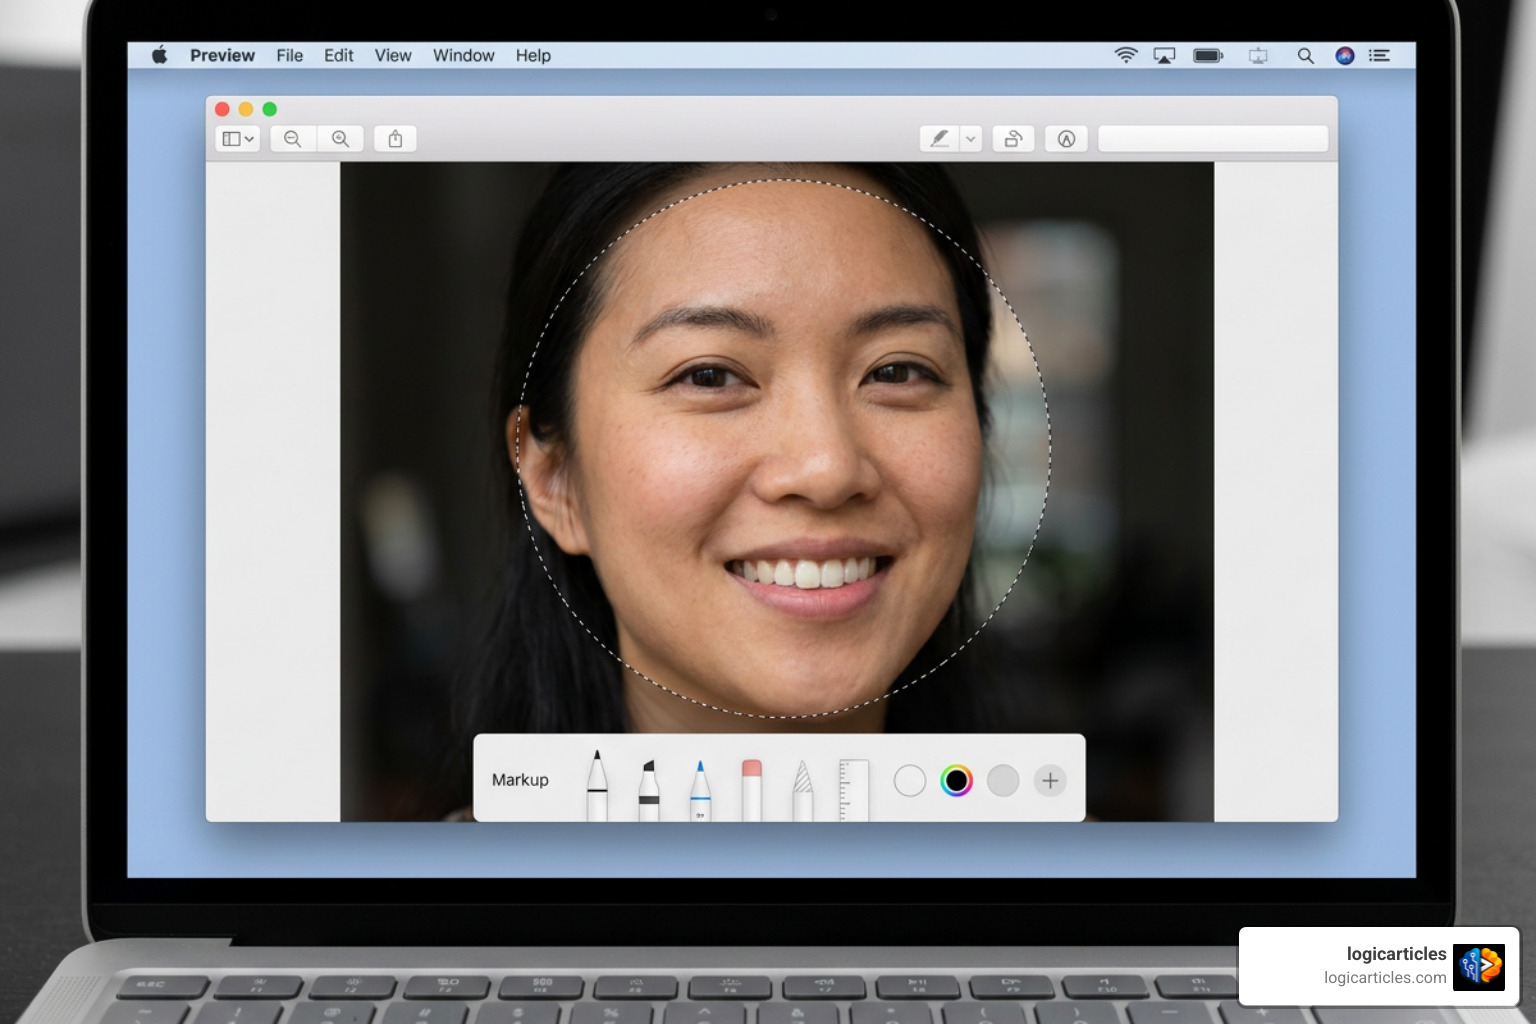
While standard rectangular crops solve most day-to-day framing needs, macOS Preview also contains specialized tools for non-rectangular selections, free-form cuts, and background extraction.
How to Crop in Preview on Mac Into Circles and Custom Shapes
If you are creating a rounded profile photo, isolating an icon, or cutting an irregular object out of a graphic, rectangular cropping will leave unwanted corner background space. Here is how we can leverage Preview’s extended selection modes.
Elliptical Selection (Circular Crops)
- Open your image in Preview and click Show Markup Toolbar (
Command + Shift + A). - Click the drop-down arrow next to the Selection Tools icon on the toolbar.
- Select Elliptical Selection.
- Click and drag over your subject. To force a perfect circle, hold down the
Shiftkey while dragging. - Once your circular marquee frames the subject, press
Command + Kto crop.
Note on Circular Images: Because standard image files (like JPEGs) are inherently rectangular grids, cropping an elliptical selection in a JPEG format will fill the discarded corner regions with a solid background color (usually white). To keep the areas outside your circle completely transparent, convert or export your file as a PNG before or after performing the crop.
Lasso and Smart Lasso Tools
For objects with complex edges that do not fit standard geometric shapes, Preview provides two hand-held selection tools:
- Lasso Selection: Allows you to draw a free-form outline around any subject using your mouse or trackpad. Once you release the mouse button, Preview completes the loop with a straight line back to your starting point.
- Smart Lasso: Designed for higher precision along complex object boundaries. As you trace around an object, Smart Lasso detects contrasting color borders and snaps a thick edge line to the subject. To get optimal results, trace smoothly while keeping the thick selection border covering both the object edge and the background.
Instant Alpha (Background Removal)
If your goal is removing a solid background around a subject rather than trimming outer borders, use the Instant Alpha tool (the magic wand icon on the Markup toolbar):
- Click Instant Alpha on the Markup toolbar.
- Click and slowly drag across the background color you want to remove. Preview highlights adjacent matching pixels in red.
- Release your mouse button and press
Delete. Preview will convert the selected background region into transparent pixels.
For a deeper dive into object isolation and background management, read the official Apple Support guide to extracting images.
Post-Crop Editing: Resizing, Exporting, and Protecting Originals
Cropping an image trims away physical pixels, which naturally changes the image’s overall dimensions and file size. However, after cropping, you might still need to adjust the exact pixel width, compress the file for web publishing, or make sure you haven’t destroyed your original master photo.
Resizing Images After Cropping
If a cropped screenshot needs to fit strict web guidelines (for instance, capping article graphic widths at 600 or 800 pixels), follow these steps to resize:
- Navigate to Tools > Adjust Size from the top menu.
- In the Image Dimensions dialog box, verify that Scale proportionally and Resample image are both checked. This ensures your image scales down naturally without stretching or distortion.
- Change the measurement unit to pixels (or percentage, inches, or centimeters).
- Enter your target width or height. Preview automatically calculates the matching dimension to maintain the aspect ratio.
- Review the updated file size estimate at the bottom of the dialog box, then click OK.
Preserving Original Files (The Copy-Paste Workflow)
Because macOS Preview auto-saves edits back to the source document, applying a crop can permanently overwrite your full-resolution source photo if you are not careful.
To crop an image while guaranteeing your original file remains completely untouched, use our favorite clipboard shortcut trick:
- Open your master image in Preview.
- Draw your crop selection bounding box over the desired area.
- Press
Command + Cto copy the selected region to your Mac clipboard. - Press
Command + Nto create a brand-new Preview document generated directly from your clipboard content. - A new window containing only the cropped selection will pop up instantly. You can now save (
Command + S) or export this copy while leaving your original file completely unmodified in its original folder.
Exporting and Compressing
When preparing graphics for email attachments, online uploads, or public distribution, exporting allows you to convert file formats and adjust compression quality:
- Choose File > Export from the menu bar.
- Select your target Format (e.g., JPEG, PNG, HEIC, or PDF).
- Pro Tip: Hold down the
Optionkey while clicking the Format dropdown menu to reveal hidden legacy file formats like TIFF, Microsoft BMP, or OpenEXR.
- Pro Tip: Hold down the
- If exporting to JPEG or HEIC, drag the Quality slider to balance image sharpness against file size.
- Adjust the Resolution field if needed ( standard screen display uses 72 pixels/inch, whereas high-quality print documentation typically uses 300 pixels/inch).
- Choose your target save directory and click Save.
Here is a recommended guide for selecting export formats based on your project needs:
- Web Screenshots & Graphics: PNG format (preserves sharp text edges and transparent backgrounds).
- Photography & Headshots: JPEG format (provides excellent color fidelity with adjustable compression sliders).
- Modern Apple Device Storage: HEIC format (delivers half the file size of JPEG at equivalent visual quality).
- Print & Publishing Assets: TIFF or uncompressed JPEG (maintains maximal visual detail and 300 PPI print resolution).
Troubleshooting Preview: Grayed-Out Crop, Reverting Edits, and Tool Limits
Even though Preview is straightforward, you may occasionally run into minor snags or grayed-out menu items. Here is how to fix common issues and navigate tool limitations.
Why the Crop Button is Grayed Out and How to Fix It
The single most common troubleshooting question users ask is why Tools > Crop (or the Crop button) appears grayed out and unclickable.
The reason is simple: Preview requires an active canvas selection before the Crop tool can activate.
If you simply open an image and look at the menu bar, Preview does not know which portion of the canvas you intend to keep. To resolve this:
- Ensure the Rectangular Selection tool is active in your Markup toolbar.
- Click and drag anywhere across your image canvas to create a bounding marquee box.
- The Crop menu item and button will instantly turn black and active.
If the Crop button remains grayed out even after drawing a box, double-check that your file isn’t marked as Locked or stored in a read-only directory. You can inspect file permissions by choosing File > Show Inspector or pressing Command + I in Finder.
How to Undo Crops and Revert File Versions
If you accidentally cropped out an essential detail, saved your file, closed Preview, and realized your mistake later, do not panic. macOS includes native revision history through its Document Model system.
- Immediate Undo: If the file is still open, press
Command + Zto immediately step back through your edits. - Revert to Last Saved: If you want to dump all edits made during your current session, select File > Revert To > Last Saved.
- Browse All Versions: If you closed the document hours or days ago, select File > Revert To > Browse All Versions. A Time Machine-like interface will open, allowing you to scroll back through historical snapshots of the image file and restore an uncropped version from the past.
Preview Limitations: Images vs. PDFs
While Preview is an incredible utility, power users should keep a few built-in constraints in mind:
- No Batch Cropping: Preview allows you to batch resize or batch rotate multiple images at once (by selecting them together in the sidebar thumbnail list), but it does not support simultaneous batch cropping across multiple files. Each image must be cropped individually.
- No Manual Aspect Ratio Inputs: Unlike high-end photo editing software where you can select strict presets (like 16:9, 4:3, or 1:1 square aspect ratios), Preview requires freehand selection. You must rely on holding the
Shiftkey for squares or visually checking pixel metrics in the Inspector window. - PDF Cropping Behavior: Cropping a page within a PDF document in Preview behaves differently than cropping a raster photo. When you crop a PDF, Preview visually hides the surrounding margins rather than permanently destroying the vector and text data. If you open that same PDF in alternative software, the hidden outer content may still appear.
| Capability / Feature | Image Cropping (JPEG, PNG, HEIC) | PDF Page Cropping |
|---|---|---|
| Data Action | Permanently discards pixel data outside marquee | Visually hides outer margins without deleting data |
| Reversibility | Reversible via File > Revert To Version History | Fully reversible at any time by clearing crop |
| Format Conversion Needed | No | Requires Exporting to PNG to permanently rasterize cuts |
| Keyboard Shortcut | Command + K | Command + K |
| Cross-App Display | Shows cropped everywhere | May appear uncropped in third-party PDF viewers |
Frequently Asked Questions
Why is the Crop button grayed out in Preview on Mac?
The Crop button remains grayed out in Preview whenever there is no active selection on the image canvas. Because Preview needs to know exactly which area you wish to retain, you must click and drag across your image using one of the selection tools (such as Rectangular Selection or Elliptical Selection) first. As soon as a dashed selection marquee box appears on your image, the Crop button and the Command + K keyboard shortcut will instantly activate.
Can I batch crop multiple photos at once in Preview?
No, macOS Preview does not support native batch cropping across multiple files simultaneously. While you can batch resize, batch rotate, or batch convert file formats by selecting multiple open images in Preview’s thumbnail sidebar, individual crop dimensions must be framed and applied to each photo manually one file at a time.
How do I crop an image without overwriting the original file?
To crop an image without modifying your original source file, drag your selection marquee over the desired portion of the image, press Command + C to copy the area, and then press Command + N. This opens a brand-new Preview document containing only the cropped selection. You can then save (Command + S) or export this new file independently while leaving your master file completely untouched.
Conclusion
Learning How to Crop in Preview on Mac is one of the most practical digital skills any Apple user can master. By using the built-in Preview app, you eliminate the friction of third-party software installations, speed up image preparation, and keep full control over your graphics, screenshots, and photos.
From standard rectangular trims using Command + K to elliptical crops, Smart Lasso extractions, and resolution scaling, Preview delivers an impressive toolkit that handles almost every day-to-day image editing need. By incorporating quick keyboard shortcuts like Command + C and Command + N, you can perform rapid visual edits while guaranteeing your primary media library stays safe and untouched.
For more step-by-step guides, tech tips, and macOS optimization walkthroughs, explore our full library of articles in the logicarticles Productivity Guides.